
Version 1.0 Honorable Mention
at NSbasic CE Contest 2000
Here is the first helper for the NSbasic CE developers that
with the Vers.2.0 help ypu better with new features.
TWO WORDS ABOUT THE PROGRAM.
	The target was to create a program to support the user to develop applications
	quickly, using it to get authonatically the needed code.
	The program runs on HPC and PPC units even if the Hpc are the preferred unit
	to develop code owing to the presence of the keyboard.
	Now, as also the PPC version program is available it will be more easy to write
	the code to use by a Palm PC as this program can enable the users of this
	unit also to create their applications quickly even if they are missing of  a true
	keyboard as with few taps the progra writes the code for them.

To install                 NSassistant  (nsassist2_2.zip)
As many programs of mine, to install NSassistant also
you need only to unzip and to copy the file you need
into the folder you like (it may be /storage card also).
The program uses NSruntime, but being developed for
who uses NSbasic CE i assume that they should have this
file currently installed on their system.
To start program tap on its name or create a link.
And now.... NSassistant2
When you start the program you see the windows below :in HPC pro e PsPC
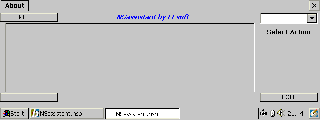
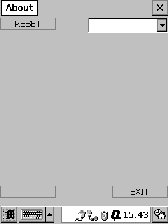
If you read the page under GUI button you may find a detailed description about the
construction and use of a windows such this.
Anyway you find 4 objects at the respective windows' corners, a central panel ( not really
at the center) and a free space on the right. The combobox on the right is the basic
command to use as the only instruction you find on start is to 'Select an Action in the
above ComboBox. Opening it you get 3 options:
Keyword/Code
Msg_box Code
Objects array Code
These are the 4 basic functions of the program.
Clicking on first option you will see the following window.
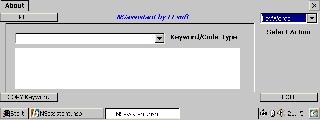
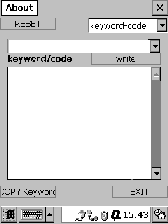 To use this window is very easy.
Open the combobox, select a Keyword/code cathegory. tap on it and you will see in the
list below all the requested keyword. Highlight the one you need, press 'Copy Kweyword'
button and when prompted press CTRL+C to copy it into the Clipboard and, thence paste
it in your code.
The next Option is Msg_Box Code that shows the following windows.
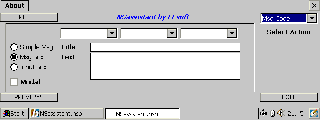
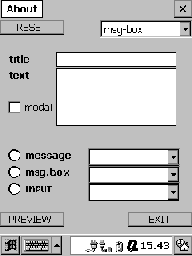 To use this windows it is equally easy, even if you have to make some additional selections.
First select the Message type (I.E. standard msg, message windows or input windows)
thence you may choise a selection buttons' number and type, the default button and the
required icon for the window.
Write window's title and obviously the text (you may write up to 6 text's lines) and the
Default value if you need an input box (Note that only the fields you needs will be shown)
Press preview the result, close it and, when prompted, press CTRL+C to copy and thence
paste the created code.After pasting code complete it with your executable code
The last option is more complex
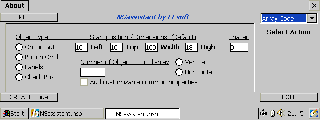
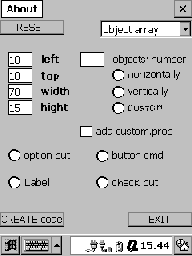 It is not difficult to use but you have surely many selection to do to create an Objects'
Array. First you have to select what kind of object to use in the array.
You can use: Command Buttons, labels, Option Box, or Check Box, Textbox etc
Tap the relative option and go to define position and dimension of the start and the items.
Selection is done using the common NSbasic values Left,Top,High,Width (you may
correct the default values)
You see on the right another input field also called Spacer. If the value of this textbox is 0
(default) all the objects will be shown side by side. Increasing the spacer value you will put
some more space between the objects.
Now indicate the Number of the objects of the array and establish if show them vertically
or horizontally as in the previous version but now you can also the custom option.
One Command button has been added to the relative window and now this new button instead
of the Spacer windows is shown if you select Custom instead of Vertical or Horizontal objects'
display. When the Customize Button is visible you see also the input windows above (Top,Left,
Width and High) blanked and you can insert the relative values for the object shown in the button
caption (Obj n.1 , Obj n.2 e so on).
When the Custom button caption reachs the number of objects selected the button hide.
By this option you will be enabled to create for esample four objects joined in an array but
located at the four windows' corners and anyone with its own dimensions.
We are at the end. If you wish you may select the check box to add two furher
cunstomizable properties equals for all the objects created.
Obviously you have to use Creata Code and thence CTRL + C button to copy the code and
paste it as above
The program works exactly as the HPC version. All the input text's
fields have been moved on the top area of the screen to enable
the user to clearly see what he is writing even if he use the virtual
keyboard.
To get the most from the use of the program i suggest:
1- Use always the same way to name your object and common
Variable (sample Lbl1,Lbl2,Lbl3 for labels or Id1,Id2,Id3 for
functions' index) so any segment of your code will be able to
run immediatly in your program as soon as copied.
2- Store the exential function (i mean Open file, Read file,and
so on) to be able to copy the common parts of your program
directly from you stored code. So doing you will need only
to write the cunstomized lines of code to complete you new
program.
And NOW is available also something to correct The Input Box Bug
(Win 2.11).for Palm size units.
As now the DialogX dll represents integrating part of NSbasic Vers. 3.0 so
NSassistant2 use this, if you install it on a palm PC, to create input boxes
full screen as used in WinCE 3.0.
The user does not have anything to do except to confirm, when prompted, that
the required Dll is installed on his unitCE.
After the reply all runs as usually and you can preview the Input screen and
thence copy the relative code into your program.
ATTENTION : When you copy the code an instruction ' ADDOBJECT "DialogX ....'
is added to your code. If you use more than 1 inputbox segment of code, created
by NSassistant2, you have do Put that line at the end of the code one time and
cancell any other occurrecies that you add copying further inputboxes code's lines.
 .
.