
Home | tricks| Changing a single Hue into an image
By jamesvalue
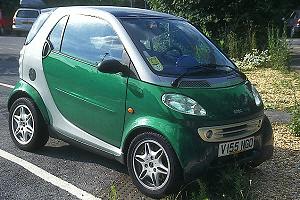
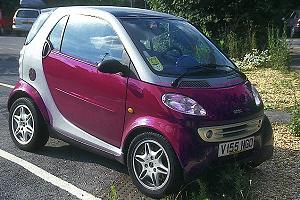
Changing a single Hue into an image
If you feel unfamiliar with terms like color palette , layers palette , tools toolbar, tool options menu , please visit this page.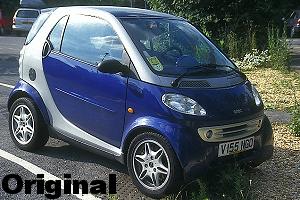

 A
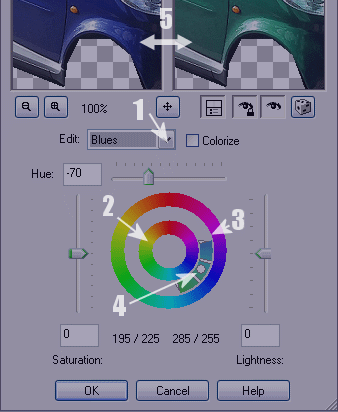
tipical Hue Saturation adjustament window
A
tipical Hue Saturation adjustament windowHome | tricks | Changing a single Hue into an image
|
Web site dedicated to Paint shop pro8
|
 |
This site uses tons of "png" images. If you have trouble viewing them an upgrade to a newer browser version should correct those problems (by JimL)
|