If you feel unfamiliar with terms like color palette
, layers palette , tools toolbar , tool options menu , please visit thispage.
Download the script for this tutorial HERE!
(only for psp8 owners).
To download the script , just right click on it and choose "save
target as"(if you have a Microsoft O.S. and Browser), now rename the
script from watchstrapJamesV.txt , to watchstrapJamesV.PspScript , then browse
for the "script restrictedted" folder
created by Paint shop pro 8 , and save the script into it.
Download the pspimage HERE!
(only psp8 owners).
To download the pspimage, just right click on it and choose "save target
as" then save it on your Hard Disk , and open it in Psp8.
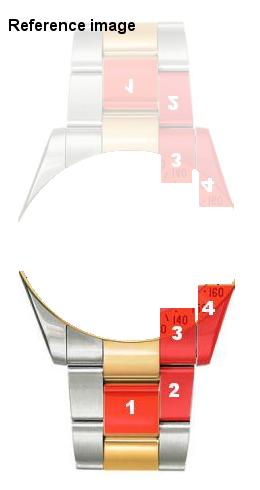
On the left is what you'll get , on the right the reference image you should use.
Open the reference image in Psp8 we'll use it to build up our watchstrap.
To copy the image in psp this is one way : right click
on the image , save the image on your HD , then open it in Psp.
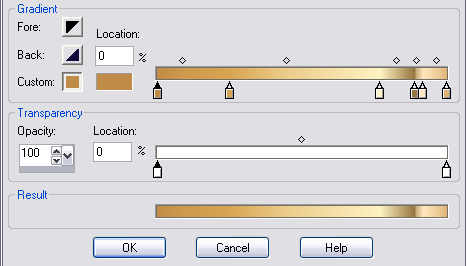
Download or make yourself , these two gradients named : golden1 and chrome1 .
The first one is for the golden part of the watchstrap and the second one is for
the chromed parts of the same watchstrap The
first "golden1" gradient can be downloaded
HERE
The second "chrome1"
gradient can be downloaded HERE
Pick the preset shape tool (P) and in the
tools options set these values: Shape type=rounded rectangle , create as a vector=yes
, retain style=no , outline width=0 , antialias=yes .
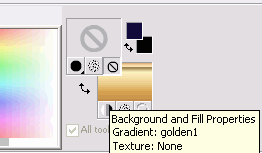
Now set the materials palette
using these tweaks: stroke=none
fill=gradient
gradient name=golden1 texture=none Materials ready
to be applied
Zoom in , in the reference image as close as you need and then draw a rounded
rectangle that roughly resembles the item1in the reference image .
Note - use the layers palette's visibility toggle to
hide or unide the first background layer , this way you can better watch your
progress .
This
is what you should have drawn till now.
Now copy the vector rounded corners rectangles edit>copy
Zoom-in into the image . to have a better positioning and then paste the copied
rounded rectangle as a new vector shape about 2 pixel at the top of the existing
one : edit>paste>paste as a new vector selection
Repeat the pasting process to add a third rounded rectangle , but this time , you'll position
it 2 pixels below from the bottom end of the first one edit>paste>paste as a new vector selection
Now we'll position the three rounded rectangles exactly in the center of the canvas
.
Pick the object selection tool (O) and draw a selection windows area , wider than
the area occupied by the three objects, this will select all and only the objects
inside the window area .
A selection window area
Once the objects are selected , launch this command : objects>align>Horz.
center in canvas
Horizontal center in canvas for trhee objects
Now deselect by clicking on an empty area , then using again the object selector
tool , select only the bottom rounded rectangle , and using the resizing arrows
adjust its height to reach about 1/2 of its original vertical size (use the reference
image to copy the exact height from), then select again all the three rounded rectangles
and group them objects>group The bottom
rectangle has a smaller size
Continue to part2

 The
first "golden1" gradient can be downloaded
HERE
The
first "golden1" gradient can be downloaded
HERE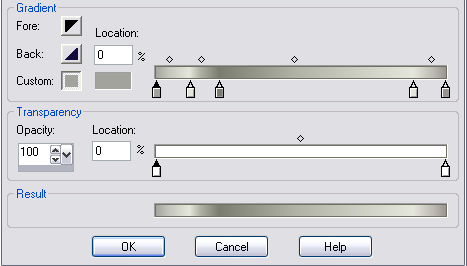 The second "chrome1"
gradient can be downloaded HERE
The second "chrome1"
gradient can be downloaded HERE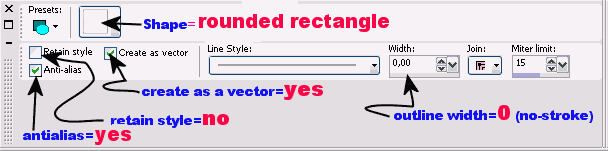
 Materials ready
to be applied
Materials ready
to be applied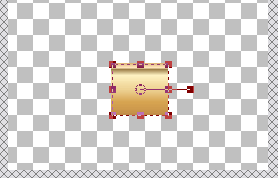 This
is what you should have drawn till now.
This
is what you should have drawn till now.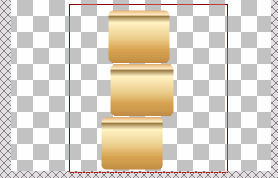 A selection window area
 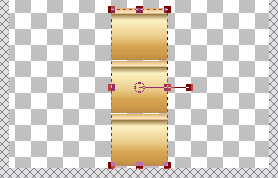 Horizontal center in canvas for trhee objects
 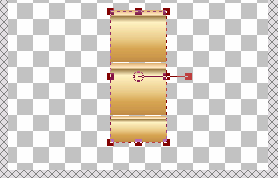 The bottom
rectangle has a smaller size
The bottom
rectangle has a smaller size