DirectX Export Suite for Blender 2.25
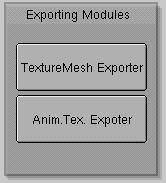
"-This Suite exports meshes in an outer file with .x extension(DirectX file format).It comes with a blend file named directX.Blend ,which contains the interface of the exporter (EXPORTER) some GUI modules and two Exporting modules:
-1)TextureX -- exports meshes,materials and UV textures(the file will be testTexture.X)
-2)AnimTex -- exports textured object animation(the file will be testAnimTex.X)
-Open directX.blend.Select ModelingScreen and create(or append) the scene to be exported.Then open Exporting Screen(it's recommended to run it in full screen)and run the Text window EXPORTER (pressing Alt+P).Press one of the two buttons on "Exporting Modules" window.In Blender directory now you will find a new file named testTexture.x or testAnimTex.x depending on which module you have used. -Remember to put the mesh normals in the right way before exporting.
-DirectX file accept only objects,no camera,no world,no lights, so delete them before exporting.
-Put animation length before exporting with AnimTex.
-Dont smooth the meshes
Download DirectX Export Suite
Quick Tutorial for TextureX
-Create or append your mesh.Give it a material(F5).It's recommended to putR=0, G=0, B=0, Spec=0 ,so it doesn't affect the texture.Name the material.DirectX doesn't accept names as Material.001,so take off the .001 part.Give a UV texture with UV Editor(Shift+F10).Due to the DirectX file format architecture any texture image must be associated with a Material.In the middle part of the GUI will be coloured rectangle(there will be more if your mesh has more then one material).This rectangles rapresents your materials.Blender gets them from the object information.Near any material box there is a text input box(img:) which must contain the image to be associated with that material.Example:
-We want to texture a simple cube with six different images.Let suppose we have this six jpg files:


One.jpg Two.jpg Three.jpg Four.jpg Five.jpg Six.jpg
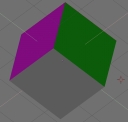
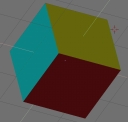
-Open directX.blend and go to the ModelingScreen.Create a Cube and give to it six different Materials,one material for each face as shown below.The materials are Grey,Magenta,LightGreen,Yellow,Red,Cyaan.Materials must be named always because DirectX doesn't recognize names with .001,002... extensions.
-Now select ExportingScreen and press alt+P over the Text window with the EXPORTER script.This is what you will see:
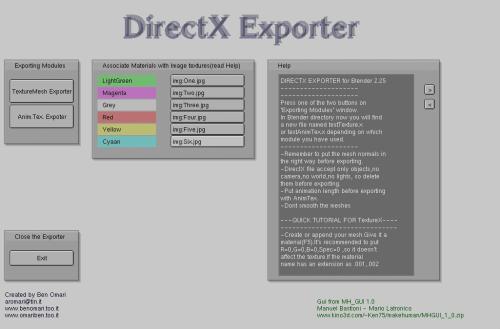
-The coloured rectangles in the middle part of the screen are the materials we assigned to the mesh.Near there are the input text windows where the texture files need to be added.By associating the red material with "One.jpg" file means that the face had the red colour will be textured with "One.jpg".Let's add them.

-Press one of the two buttons in the left part depending on what you want to export.If only the mesh the first one and if the animation too the second one.
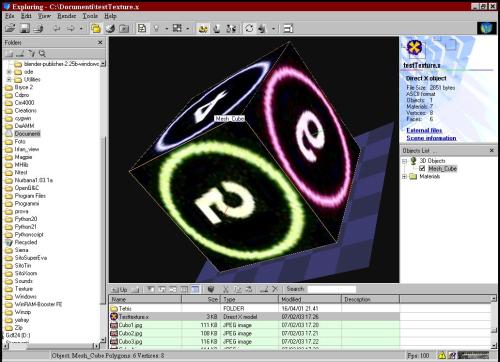
-Wait the progress bar shows 100% and then in the Blender directory will be a file named testTextureX.x if only the mesh was exported or testAnimTex.x if was exported animation too.Thats what I see in 3D Exploration