
Home |Tutorials |Transparent buttons part1 | Transparent buttons part2
By jamesvalue
Tutorial Transparent buttons part1
thanks to Miss B to JimL to Juli to Fred for their
languages corrections !
Building "transparent style" buttons
in paint shop pro8 is quite easy .

Download the script for this tutorial HERE!
(only for psp8 owners).
To download the script , just right click on it and choose "save
target as"(if you have a Microsoft O.S. and Browser), now rename
the script from buttonJamesvalue .txt , to buttonJamesvalue.PspScript , then
browse for the "script restrictedted"
folder created by Paint shop pro 8 , and save the script into it.
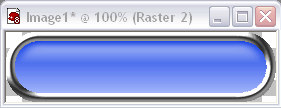
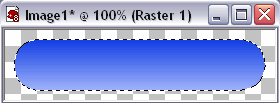
This is the final result
Open a new 270X70 pixel , 24bit , transparent , image.
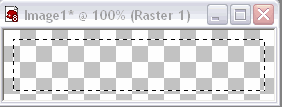
select all the canvas content (only the blank canvas for the moment!)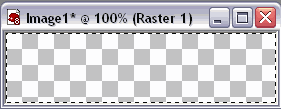
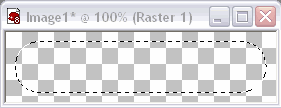
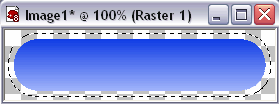
In the tools toolbar pick the flood fill tool (F) , in the materials palette set a "gradient" as a foreground style , and click on the gradient box to open the material/gradient window , then click on the "edit button" to open the gradient editor , click the button named "new" to define a new gradient , name it "button" and build a two-colors gradient.
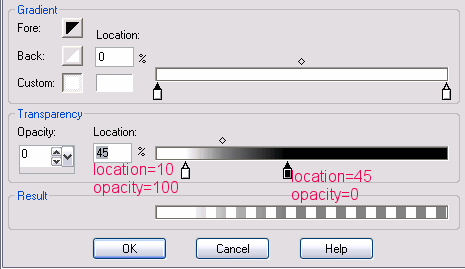
 Here's the image to copy the gradient from
You can avoid these operations by downloading and loading an already-made gradient here , but if you wish to make it by yourself , just use these settings:
color1=RGB=160.179.250 (HTML code=#A0B3FA)
color2=RGB=14.59.228 (HTML code=#0E3BE4)
gradient name=button
 Here's
the gradient
Here's
the gradient 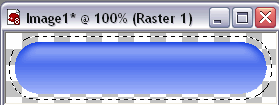
continue the tutorial on part2
Web site dedicated to Paint shop pro8
|
 |
This site uses tons of "png" images. If you have trouble viewing them an upgrade to a newer browser version should correct those problems (by JimL)
|