
Home |Tutorials |Transparent buttons part1 | Transparent buttons part2
By jamesvalue
Tutorial Transparent buttons part2
thanks to Miss B to JimL to Juli to Fred for their
languages corrections !
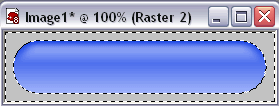
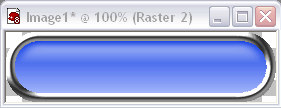
Now invert the selection selections>invert
expand by 9 pixels selection>modify>expand (number
of pixels=9)
invert again selections>invert
And then remove the unnecessary pixels : edit>clear
(canc)
then deselect again , selections>select none (ctrl+D)
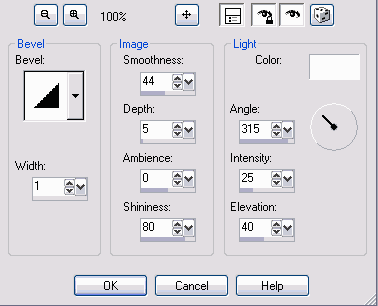 using
the same settings of the image
using
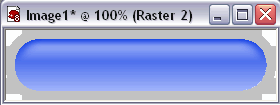
the same settings of the imageWe'll now Use the curves to give the frame a metallic looking
adjust>brightness and contrast>curves
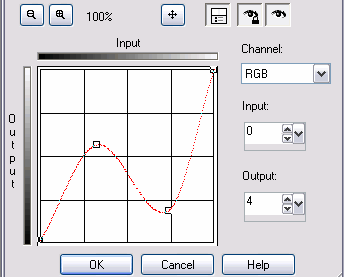 copy
the 4 Points curve from the image
copy
the 4 Points curve from the image

END
Web site dedicated to Paint shop pro8
|
 |
This site uses tons of "png" images. If you have trouble viewing them an upgrade to a newer browser version should correct those problems (by JimL)
|